Captain America Car Redo

dsc_0596

Well…It has been WAY to long since I have written a post.  I got distracted by life, but realized I had a few projects I’ve been waiting to blog for a long time.

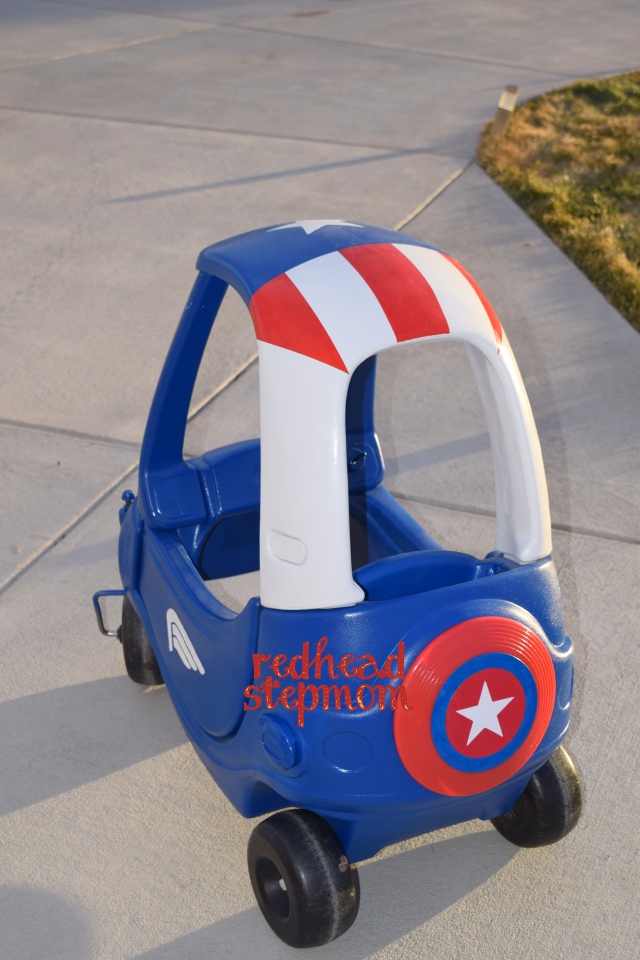
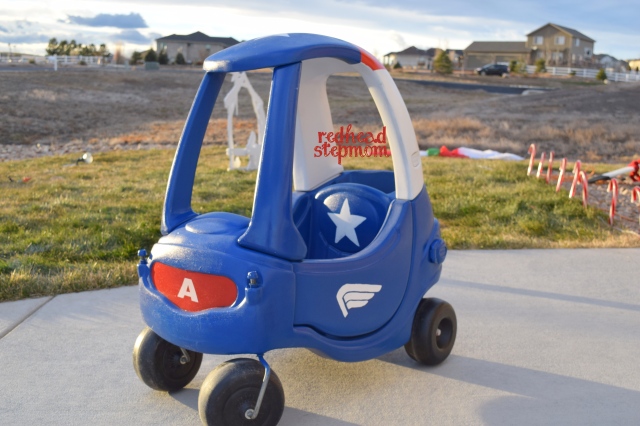
My nephew loves superheroes.  So I decided to do a Captain American car redo for his present.  I must say, I think it turned out great.

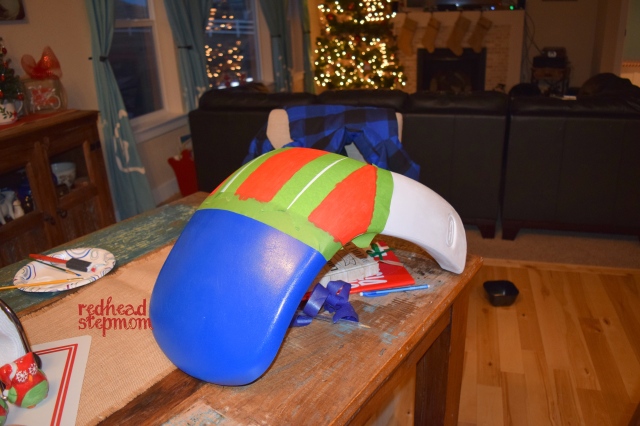
A few notes about what I did.  I started by disassembling the car the best I could, I found this at goodwill for $15.oo.  It kind of just snapped apart. I’m not going to lie, I was a little worried about it all fitting back together.  Then I sanded this lightly. I think this is key although I would use a very light sand paper, I used a little rougher one and you could kind of see the scratch marks. I did use my silhouette to do the cutting, I used chipboard/old cereal boxes as the templates.  We did a lot of touch up painting, because we had trouble with bleeding.  I would definitely use vinyl next time :).  I made the shield with a dog frisbee and cut out the shapes with my silhouette then modge podged over it.

Before it was kind of a mess 😦 Sad little car!dsc_1042

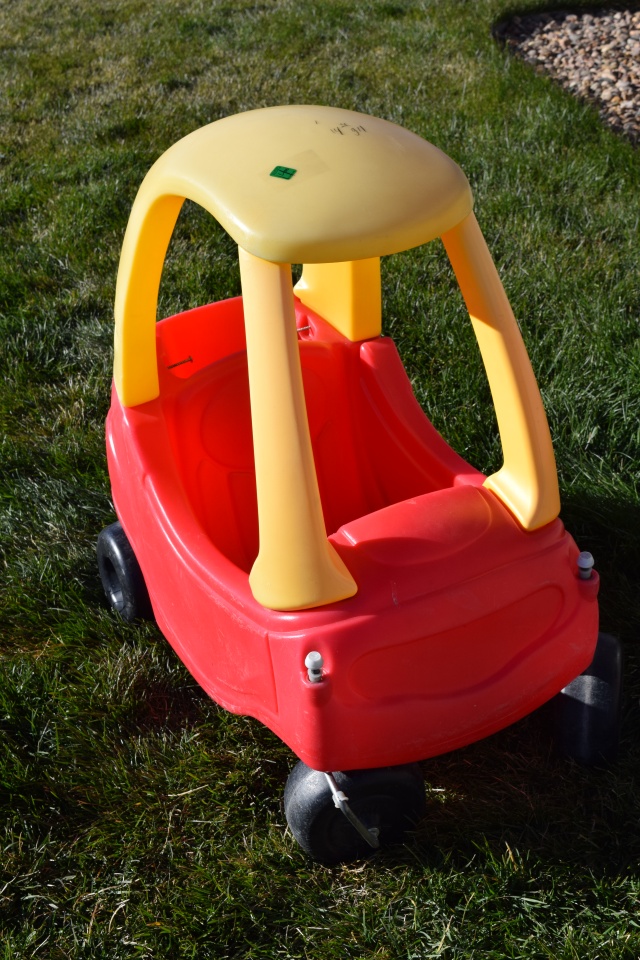
The front wheels didn’t come off so I covered them with plastic before spray painting. dsc_1046

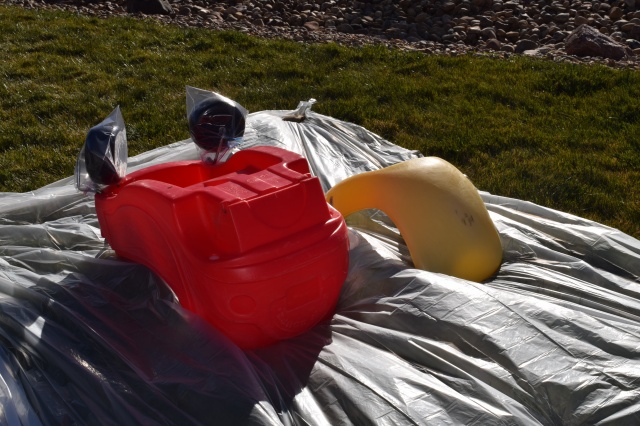
My sweet hubby helping me!dsc_1117

dsc_1112

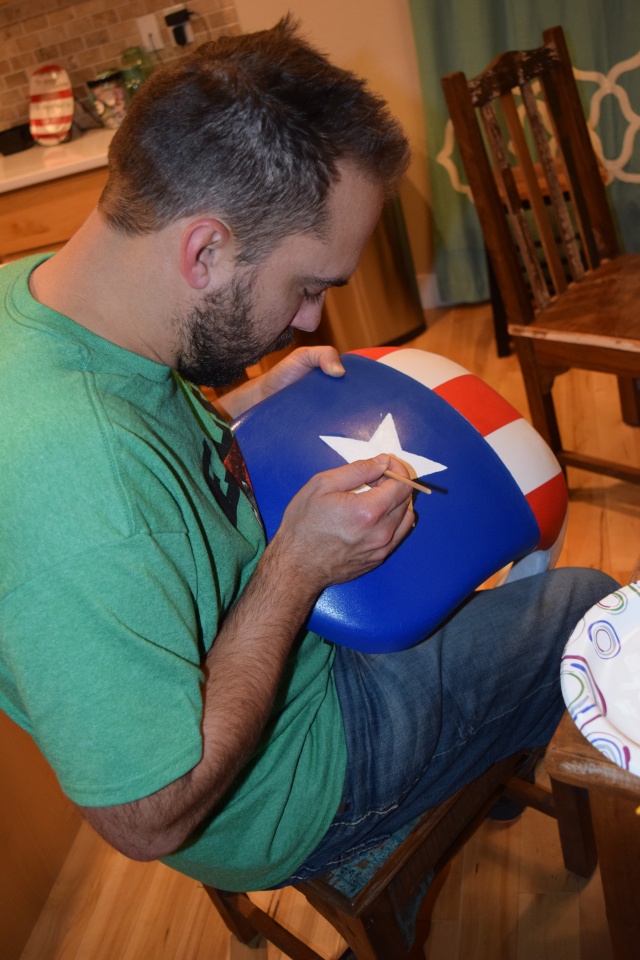
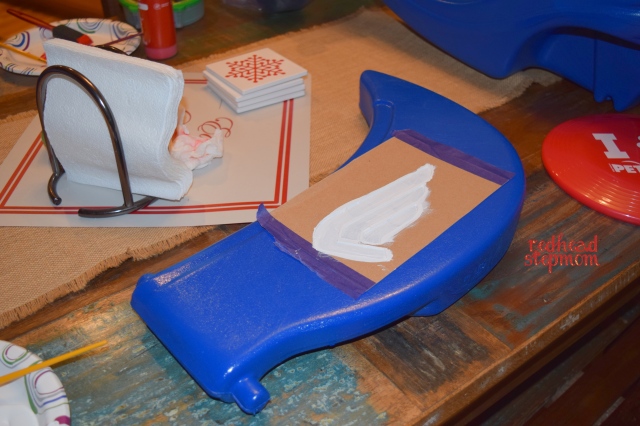
Tape this with really good painters tape!!dsc_1111dsc_1109dsc_0602

Creepy Crawler Toss Halloween Carnival Game

DSC_0985.JPG

There was a fall festival and our small group was in charge of putting a game together.  I volunteered to make the game, which means my husband was volunteered as well.  We wanted to do something we could make two of so lines could move quicker and this is what we came up with.

We bought these boards from Home Depot for about $6.00 each.  We then got pumpkins buckets from Wal-mart for $1.00 each.

My husband used scrap wood for the back bracket and to make pieces that held the pumpkins in the right spot. I used my Silhouette Cameo to cut the vinyl lettering and we had bugs for the kids to toss in the bucket.

DSC_0986.JPG

We were very surprised at how well these held up.  We were even able to lend these out to our in-laws.

A place for my aprons

I didn’t have a good place for my aprons to hang at our new house, so they ended up in a bin in a cupboard.  I realized how much I don’t use them down there, so I was determined to find a place for them to hang.

thumb_DSC_4407

Our basement stairs are right across form our kitchen, so I decided they could find a home in the basement hallway.

I just used command hooks (love no holes in the wall when I can get away with it). I also cut some removable vinyl with my Silhouette Cameo that said “Let’s Bake!”.  I love how cute it looks and I defiantly use them more!